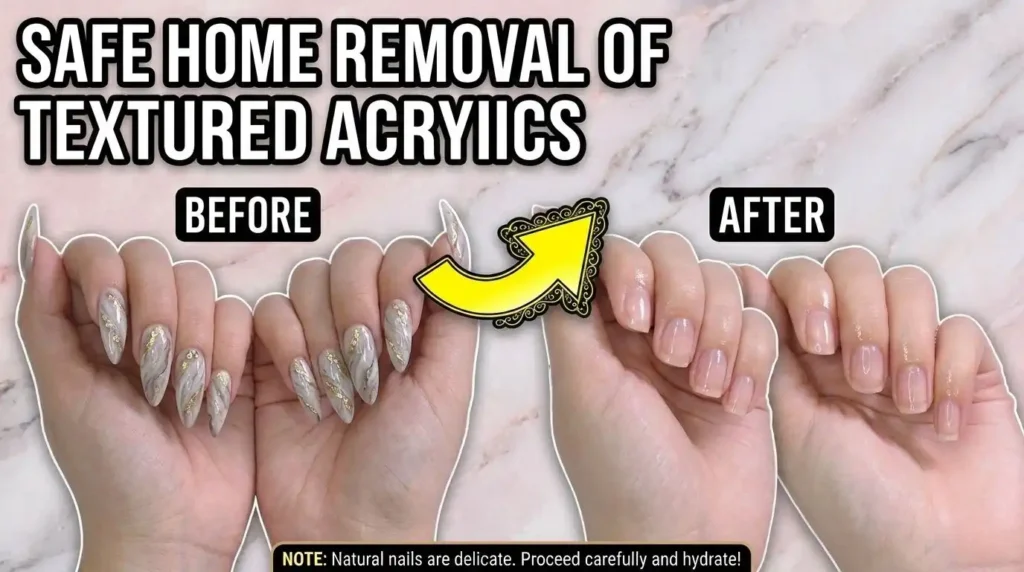
Most beauty enthusiasts treat acrylic nails like a commitment – beautiful until removal becomes unavoidable. The wrong way to approach this? Forcing them off. That single mistake can harm your nail bed and invite infection instantly.
Here’s what years of DIY experience taught me: preparation is everything. Improper removal doesn’t just weaken your nails – it strips away strength, disrupts natural look, and turns a simple refresh into a damaging ordeal nobody wants.
Safely removing acrylics at home requires right steps, proper care, and honest tips. Follow this guide and the process becomes easy, pain-free, and far easier than any visit to a nail salon ever felt.
What You’ll Need
Before anything else, prep your space like a nail spa station. Your kit should include nail clippers, a nail file, buffer, and pure acetone – these are non-negotiable tools every informed first-timer must own.
Supplies like cotton balls, cotton pads, and aluminum foil do more work than most realize. Add an orange stick, cuticle pusher, and petroleum jelly to your gear – this professional nail kit setup makes everything safer and quicker.
Right tools eliminate guesswork entirely. Cuticle oil, hand cream, and a few smart tricks round out your setup, making the entire removal faster and far less stressful on your hands from start to finish.
Step-by-Step: How to Remove Acrylic Nails at Home
Method 1: Acetone Soak (Recommended Method)
Trim first – use nail clippers to cut down length before you file away the topcoat and designs, including glitter layers. This prep breaks down surface resistance, letting pure acetone reach acrylics faster, making the entire process genuinely hassle-free without rushing.
Method 2: Warm Soapy Water (No-Acetone Method)
Fill a bowl with warm soapy water for a gentle, tool-free alternative – soak your hands 30 – 40 minutes letting heat soften and lift the acrylic. This slow, less drying approach is kinder on skin and nails, though longer than acetone. If edges resist, simply return back to water rather than pry with a cuticle pusher.
Aftercare: Taking Care of Your Natural Nails
Natural nails need real TLC after removal – apply cuticle oil daily to restore moisture and begin consistent care immediately. Skipping this step leaves nails weak, dry, and desperate for hydration. Moisturize thoroughly; thirsty nails recover faster with fortifying polish.
Strengthen with a quality nail strengthener and hand cream every evening – this gentle care routine genuinely supports healthy growth without overwhelming thin nails. From personal experience, manicurists rarely emphasize how critical consistent care is during early aftercare recovery. Rest matters equally.
Avoid over-filing, buffing, or reapplying acrylics for at least one week – let nails breathe and recover. Pampering them with moisture and love signals your nail needs are mighty priorities now. Professional guidance helps protect and encourage genuinely hydrated, strong natural nails.
When to See a Professional
Thin nails, visible trauma, or stubborn acrylics that resist home removal are clear signs to book an appointment – a licensed nail technician can safely and quickly remove them without compromising nail health. Yes, it costs more, but experts deliver services that protect damaged nails and offer genuine peace of mind – absolutely worth it for serious nail care.
Conclusion
Safely removing acrylic nails at home starts with making nail health your top priority – treat it as the first step toward maintaining beautiful nails. Take your time, stay gentle, and your natural nails will recover with love. Have questions? Book an appointment with an expert for professional assistance, tailored nail care tips, and personalized services that meet your needs. Welcome your acrylic-free, fabulous nails with open arms – your next nail adventure awaits, healthy, strong, and vibrant.
Q: Can I Remove Acrylic Nails at home Without Acetone?
The warm soapy water method works without acetone – just requires extra time and patience for results.
Q: Will My Nails Be Damaged After Removing Acrylics?
Some weakness is normal – with proper care and aftercare, nails bounce back stronger after removing acrylics.
Q: How Long Does the Removal Process Take?
The acetone soaking method takes 20 – 30 minutes; non-acetone methods need 40 minutes of patient soaking time.
Q: Can I Reuse Acrylic Nails?
Reusing acrylic nails is not recommended – bacteria buildup can compromise both fit and appearance significantly.
Q: How Often Should I Take a Break From Acrylics?
Experts recommend a break from acrylics every 2–3 months – letting natural nails recover and regain strength naturally.
Read Also: How To Remove Nail Polish Without Nail Polish Remover